Setting up a Tor Docker Obfs4 Bridge on a QNAP NAS
17/04/24
An Obfs4 Docker bridge is a little bit more involved to set up than a snowflake proxy but still quite straight forward in Container Station 3.
Important: If you follow best practice and have disabled the default admin account it will have to be re-enabled temporarily and used for the following configuration steps. Once the bridge is configured the default admin account can be disabled again. This is due to QTS custom user accounts assigned to the administrators group not receiving equivalent permissions to the default admin account.
Note: To save space screen shots don't necessarily show unused controls. If a control's just mentioned by name it'll be on your live version somewhere. Unless mentioned ignore any other available settings.
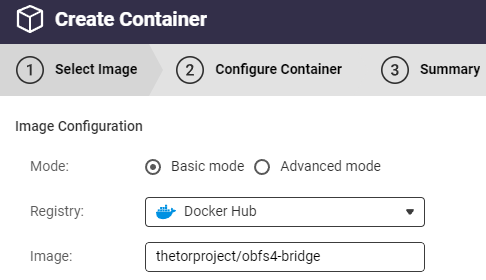
Start the container creation wizard
Set the Docker image name to thetorproject/obfs4-bridge and click Next.
Choose a name for the container
E.g. OBFS4

Click Advanced Settings.
Create the network
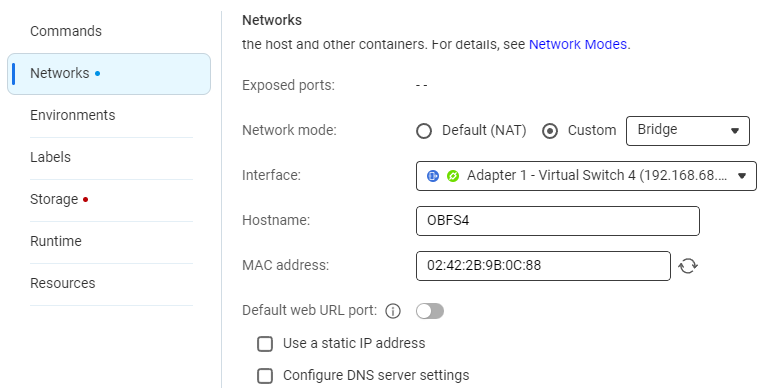
Change Network mode from Default to Custom>Bridge and as Interface select an adapter/virtual switch directly connected to your internet router LAN. This is the surest way to avoid NAT issues and simplest to configure port forwarding on.
Choose the Hostname you'd like the obfs4 bridge to show as on your LAN.
By default the MAC address is blank. Use the recycle icon for a system selected address to be shown or type one of your own. Either way it's best to supply something as otherwise the MAC address is prone to change on container restart.
It's fine to set a static IP if you like or just leave as the default DHCP assigned.
Configuring DNS server settings to something known good (e.g. 8.8.8.8, 8.8.4.4) removes the chance of your QNAP getting this bit wrong.
Create the environment variables
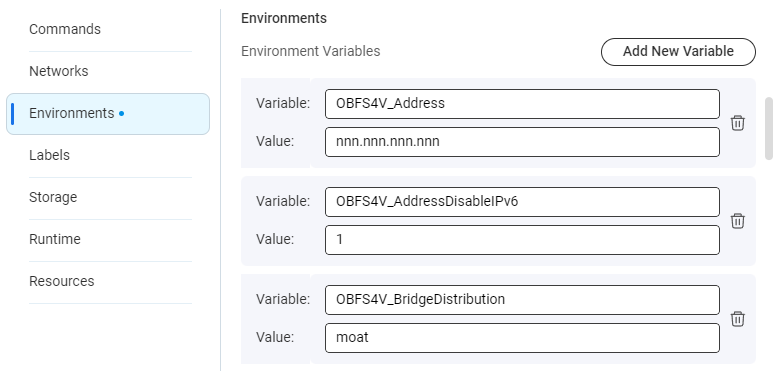
Add an environment variable for each or the following. Although outside the scope of this guide settings can be customized. The exceptions are OBFS4_ENABLE_ADDITIONAL_VARIABLES and OBFS4V_AddressDisableIPv6 which are mandatory and should have value 1. OBFS4V_Address should always be your external ip.
| Variable | Value |
|---|---|
| OBFS4_ENABLE_ADDITIONAL_VARIABLES | 1 |
| OBFS4V_CookieAuthentication | 1 |
| OBFS4V_ControlPort | 9051 |
| OR_PORT | 3567 |
| PT_PORT | 587 |
| OBFS4V_Address | nnn.nnn.nnn.nnn |
| OBFS4V_AddressDisableIPv6 | 1 |
| OBFS4V_RelayBandwidthRate | 1 MBytes |
| OBFS4V_RelayBandwidthBurst | 1 MBytes |
| OBFS4V_BridgeDistribution | moat |
| OBFS4V_Nickname | anobfs4bridge |
| TZ | Europe/London |
| [email protected] |
Create storage
This step is optional but without it, if your container or CS as a whole gets broken, it's likely the bridge's unique keys will be lost for good. Creating a new obfs4 bridge wouldn't benefit from any previously accumulated reputation.
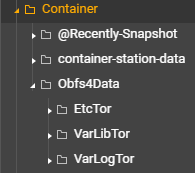
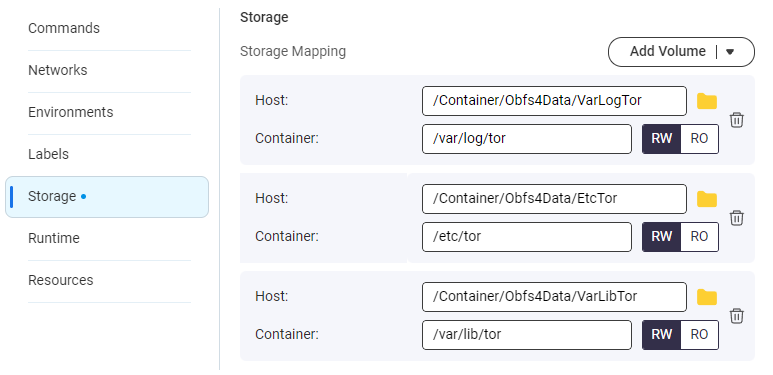
Create three folders in the root of the Container Station installation folder using File Manager, as named in the Host/Folder column below.
| Host/Folder | Container |
|---|---|
| /Container/Obfs4Data/VarLogTor | /var/log/tor |
| /Container/Obfs4Data/EtcTor | /etc/tor |
| /Container/Obfs4Data/VarLibTor | /var/lib/tor |
They should look like this
Use the Bind Mount Host Path option to create a mapping for each folder.

So they end up looking like this.
Set runtime permission
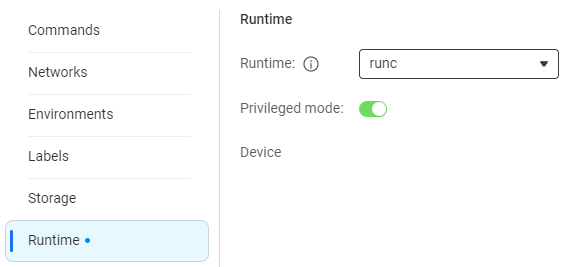
The container needs elevated permissions so toggle Privileged mode on. These permissions are internal to Container Station, not system wide.
Click the Apply button. Reopen Advanced Settings and double check things are as they should be. Adjust and Apply again if they're not, close Advanced Settings then click Next if they're good.
Triple check the summary then click Finish.
The container will attempt to start and probably crash with something in the Logs window similar to this

or this.

Set container user to root
By default the container will probably be trying to run internally as debian-tor, which has insufficient privileges in the Container Station environment. It has to be switched to root.
Make a note of the first few characters of the container id.

Turn off Container Station in the App Center, otherwise the following change won't stick next time it restarts, say after a NAS reboot.
Once off navigate to /Container/container-station-data/lib/docker/containers/ in File Manager, assuming your original CS installation was set to use the default location.
In there you'll find the obfs4 proxy container folder by matching the noted id characters.
Within the container folder edit config.v2.json, here shown opened in the QTS Text Editor app.

Change the user from debian-tor to root. Save the file. Start CS.
Port forwarding
Things should be working a lot better now but unless you jumped ahead on port forwarding, still not 100%.
If you don't know it already identify the LAN ip address of the proxy on the container details page.

On your router/firewall/modem forward TCP protocol packets on OR_PORT and PT_PORT set in the environment variables to the proxy LAN ip address
Restart the container.
All should be good, confirmed after a few minutes by

Don't forget to disable the default admin account now you're done.